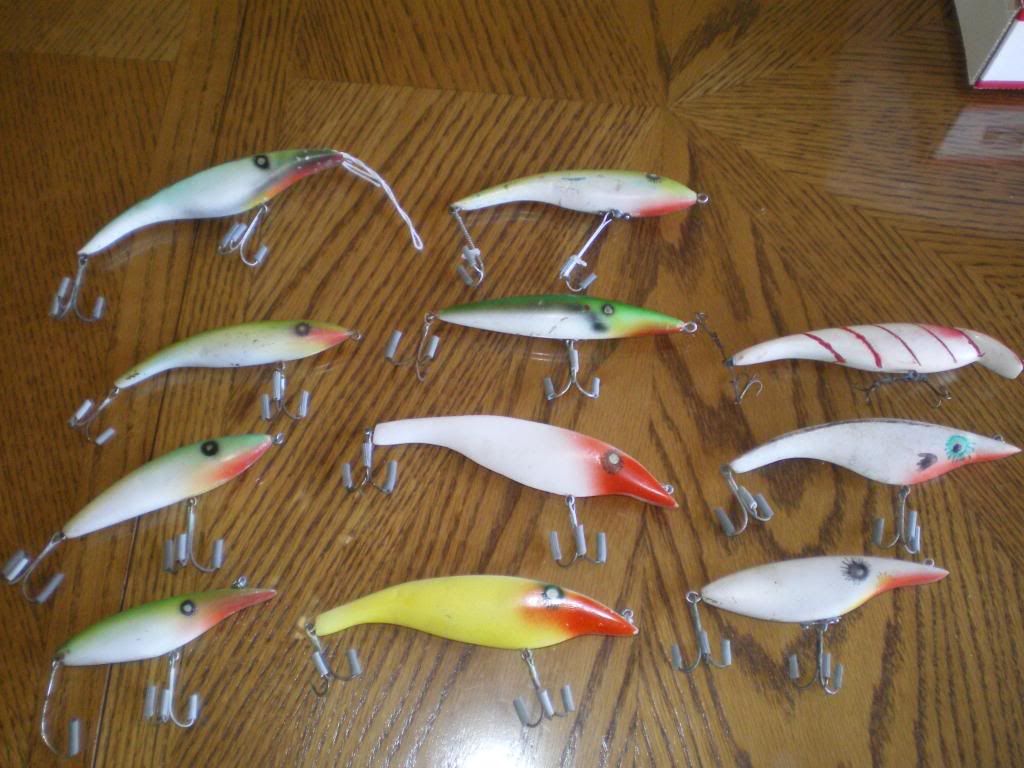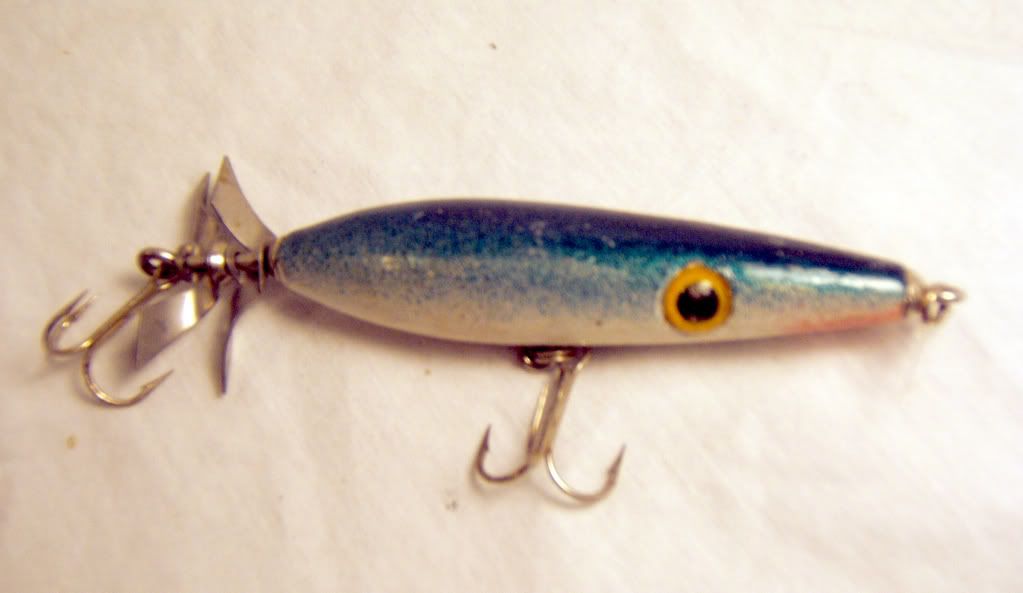
When I was a boy I wanted to try my hand at making wooden fishing lures. I remember how I used to marvel at all the lures in my tackle box and wonder at how to make fishing lures. So without any experience or anyone to help me I tried to make my own homemade fishing tackle. Let's just say my first few attempts didn't quite turn out. That's why I decided to write this article on making wooden fishing lures so that you can avoid making the same mistakes I did when I first tried.
My first attempt at making homemade fishing tackle went like this if I remember correctly. I grabbed on old broken broom from my mom's closet and did my best at hand carving out a very rough looking fishing lure. I didn't know anything about what wood selection, sealing the wood or proper painting techniques I just wanted to make my own homemade fishing tackle. Back then there wasn't anyone to help me, no internet just plain trial and error.
Once I had sanded the wooden lure into shape and used some of my dads eye screw from his tool box and attached a few hooks I took my car modeling testor paints and gave that fishing lure the best minnow paint job that would make any 12 year old boy proud. I remember heading down to the lake and trying her out when I was finished. What a disaster! The fishing lure didn't wobble like the other wooden lures in my tackle box and my paint job lasted all of 5 minutes before it began to peel and curl and hang off my homemade fishing tackle like a wet soggy noodle. I was broken hearted. Wow making wooden fishing lures was a lot harder then I had hoped.
In retrospect how to make fishing lures isn't actually difficult it just takes some proper consideration and technique. The tools needed do not have to be complex and you don't have to spend a lot of money. In fact a lot of fishing lure making jigs can be constructed from old scraps lying around and they will do as good of a job as any fancy spinner wire making jig around.
Here are a couple quick tips on making wooden fishing lures.
1. Proper Wood Selection. While you can craft out a lovely looking crankbait from your mom's or wife's old broom handles it isn't exactly the best choice. Most wooden baits in our tackle box are made from balsa or basswood. However not a lot of people have access to these kinds of woods so easily without either having to travel to an exotic wood store or through special order. So what's a guy to do? Well, take a tip from antique lure collectors. There's a lot of great lures back in the old days that used red or white cedar. These woods make excellent wooden lures and are a lot more accessible for the average hobbyist how wants to learn how to make fishing lures.
2. Seal the Wood Before you Paint.I know that for a lot of wood projects you often seal and varnish the wood when you're done to protect it. This isn't the best option when it comes to painting a professional job on your wooden lure. By sealing the wood with a couple light coats before you paint you make the job of painting a lot easier. Great lure painting comes with practice but you will find it is a lot easier to get even coats if you seal the wood before you paint. Also after sealing make sure to sand the lure one more time before painting. Sometimes sealing the wood raises the grain a bit, even if you can't feel or see it. By sanding after sealing with using fine grade sandpaper you help to lower that grain and make it even. Again making it easier to get a nice even coat of paint.
Making wooden lures isn't a terribly difficult task but it does take some thought and technique to turn out a lure that is going to rival any rapala you have in your tackle box. There's a lot more to learning how to make homemade fishing tackle and it's best to read more about the subject before trying. That way you'll save yourself the same experience that I had when I was a boy trying to make wooden fishing lures.
For information about tackle making and get some great tips visit homemade fishing tackle. There you will find a lot of great information and resources to help you get started in this fun hobby of making fishing lures.
Article Source: http://EzineArticles.com/?expert=Tony_Bolton
see my previous post :
How to Make Fishing Lures
Thursday, September 30, 2010
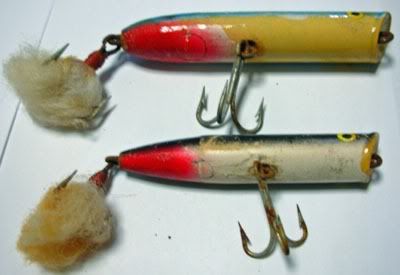
How to Make Fishing Lures
How to make fishing lures is one of those hobbies that is extremely fun to learn and very satisfying. There's no feeling that can describe catching your first bass or trout on a fishing lure that you made all by yourself. The problem is there isn't a lot of information out there in learning how to make fishing lures. Most people start off in the hobby through a lot of trial and error. I was no exception to this. Back when I was a boy I used to marvel at all the fishing and experience for a 12 year old boy, trying to carve out fishing lures out of your mom's lures in my tackle box and wonder at how fishing lures were made.
My first few early attempts at making fishing tackle didn't quite turn out. In fact the results were down right hilarious. Back then there wasn't hardly any information about how to make fishing lures at all, so everything had to be learned through experience broom sticks and painting them with your car modeling testor paints. I still remember running down to the water with my first fishing lure that I had made. It didn't wobble, I think the paint job only lasted a few minutes before starting to peel and hang off my lure like wet noodles. But it sure was a lot of fun.
Today learning how to make fishing tackle doesn't have to be like back when I was boy. Even though there isn't a ton of information available the art of making fishing lures has come a long way to helping the beginner.
The first step is having a basic knowledge of fishing tackle, design and function and knowing of what lure making supplies you really need. After that the fun can begin as you try your hand at making fishing lures. Here are a couple quick tips to help you out in making wooden fishing lures.
* 1. Most wooden lures in your tackle box are made of a few different types of wood. Balsa and Basswood are the most common woods used to make fishing lures. However you can make some really great fishing lures out of more common wood found in you local home improvement store. Cedar makes some great fishing lures and you can use both red and white cedar. I have had great success using both. They carve and shape fairly easily and due to the woods water resiliency finish up nicely.
* 2. Easy Ready to Go Painting Patterns. Did you know you can use your wife's or mothers used nylons to get some great patterns on your fishing lures without a lot of fuss. By using an airbrush you can take advantage of some of the patterns on used nylons to make some great subtle patterns on the sides of wooden fishing lures just make sure to use an old pair or you just may find yourself in the dog house if you use your wife's best Sunday nylons.
* 3. Always seal your wooden plugs before painting. This was something I didn't even know to do when I was a boy during my early fishing lure making attempts. It may sound like a small tip, but it goes a long way to making some nice fishing lures. Just use some wood sealer from your local home improvement store but here the crucial tip. After doing so sand down the fishing lure once more using very fine sandpaper, or even a brown paper bag. Wood sealers have a tendency to raise to raise the grain in wood, and this would result in an un-even paint job. It doesn't take a lot of time to do, but it helps to create a better looking fishing lure.
There's a lot more that can be shared about how to make fishing lures, and for most the best way to start learning is to jump in and start having some fun. I would suggest however to get the most from your first few tackle making attempts is to learn a little more about this fun hobby.
For more information about how to make fishing lures visit tacklemaking tips. There you will find a lot of great information and useful information on how to get started in this fun hobby.
Article Source: http://EzineArticles.com/?expert=Tony_Bolton
see my previous post :
Trout Fishing Lures - Tips On Which Ones To Use To Guarantee Success
Labels:
Fishing Lures
Monday, September 27, 2010
Trout Fishing Lures - Tips On Which Ones To Use To Guarantee Success
There are countless different kinds of trout fishing lures which you can experiment with as you progress toward becoming a master angler, and which lure you use will depend on the type of trout, where you are fishing and the fishing conditions, and the time of year. Broadly speaking, however, trout fishermen typically use whichever fishing lure they are most comfortable with but also which lure the trout appear to be going after on the day so remember to arrive with a variety of lures and be flexible.
Trout fishing conditions change because of insect hatches and other natural food sources that the trout are most exposed to. Since trout are known as "easily-spooked" fish, you need to replicate the natural environmental factors at any given time found in the habitat you are fishing in. One great tip is to ask at the local bait shops which lures they are finding the most success with.
Let's consider a few of the variety of lures available to you.
Spoons are popular trout fishing lures because they come in all sizes and thickness. Early-season trout might demand thicker spoons because they are in deeper, faster water, while a thinner spoon works better in calmer waters, later in the season. Spoons cast easier than other types of lures, so you can cover more water in a shorter amount of time.
Spinners are popular trout fishing lures to consider as well. They are known to run deep, making them perfect for early season fishing. They are available in a variety of sizes, but a general rule of thumb is to consider a tiny 1/32 ounce lure with 2 pound test in smaller creeks, a 1/16 to 1/8 ounce spinner in mid-sized streams and move up to heavier 8 pound test line and a 1/4 ounce spinner in the deeper and faster waters.
Minnow plugs are popular lures because they resemble a natural food source of the trout. You will need to mimic the size of the local minnows that are found in the stream you are fishing in; generally, however, smaller minnow plugs are the best. That means you should keep the length below 5 inches and it can be best to use minnow plugs that are 2 to 3 inches long in almost any trout stream.
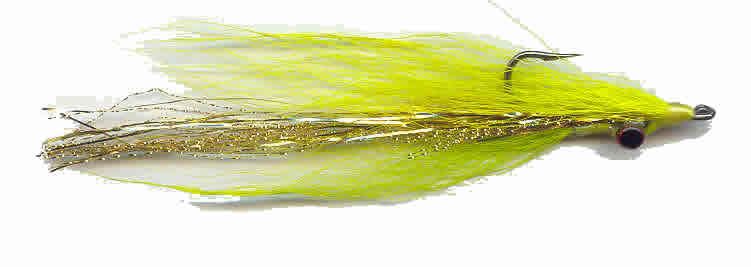
Flies are a category of trout fishing lures that encompasses a large number of styles, colors and sizes. When you are fly-fishing, there are different techniques you need to learn because you are imitating the natural insect hatch, which is their favorite food source. There is a wide variety of flies to choose from and there are many avid fishermen that "tie" their own flies. You can find kits for building your own trout flies at sources that cater to trout fishermen.
As you can see, there are many different choices when it comes to trout fishing lures. The secret is to find the ones that offer the best results for the conditions where you are fishing. Call on the expert advice of experienced anglers and educate yourself to accelerate your results and you will soon find that your results are more reliable and consistent than ever before.
Jerry Worden is a trout fishing expert. To learn secrets on how to become consistently successful in your trout fishing and selection of trout fishing lures and to obtain a Free Trout Fishing Secrets mini-course, visit http://www.troutfishingsecretsthatwork.com/ now.
Article Source: http://EzineArticles.com/?expert=Jerry_Worden
see my previous post :
How to Make Plastic Fishing Lures
Labels:
Fishing Lures
Saturday, September 25, 2010
How to Make Plastic Fishing Lures
How to make plastic fishing lures is one of the easier tasks when it comes to tackle making. It doesn't require a lot of tool, and the items required in order to make them are relatively inexpensive such as liquid plastic. Once these items are acquired you can make soft plastic worms and other plastic lures for pennies a piece.
The most expensive part about how to make plastic fishing lures is obtaining a mold. Molds are used to speed the whole process up and they make a more uniformed plastic worm. You simply pour the melted plastic inside holding the mold at an angle to insure the mold fills from bottom to top that way you do not get any air bubbles inside your plastic worms. Then you let the mold sit to cool so that the plastic sets, then removing the plastic worm carefully place them inside a small container of water to finish cooling and curing. Adding things like glitter etc are ways you can jazz up your own homemade fishing lures.
But what if you don't want to bother with purchasing a plastic worm mold? Can you still make soft plastic lures? How to make plastic fishing lures without a commercial mold is not that difficult to do. Here's how I go about making a mold from common Plaster of Paris. The first step is to simply create the two halves of the mold. You can use anything you like to hold the plaster, aluminum foil, small cardboard boxes, pie plates etc. The trick is to let the 2 halves partially set before actually creating your mold. I like to let my molds set for about 30 minutes to an hour depending on the thickness of the plaster.
The next step in how to make plastic fishing lures is to use a master worm. Now a master worm can be anything really, the easiest is to use a worm from your tackle box or make one from modeling clay, either way works. If you do choose to use a plastic worm from your tackle box make sure as you set the worm into one half of the mold to line up the seam on the worm with the top of the plaster otherwise you'll land up with 2 seams in your new plastic fishing lure. One from the master and one from your newly made mold.
Ok before setting the master worm inside one half of the mold it is important to coat the worm in either some Vaseline or vegetable oil. The purpose here is so that the worm doesn't stick to plaster once it is fully set. Now carefully set the plastic worm into the mold halfway. Again paying attention to any seams that may exist on your plastic worm.
Next we need to make registration pins in the mold so that it will line up the way we want when it comes time to pour in our melted plastic. The easiest way here is to use some finishing nails I like to use about 3 and set them into the semi set mold. Then put the other half of the mold on top, clamp it together and let it set overnight to insure the plaster fully sets.
All is not done yet, there are still a couple steps yet to do in how to make plastic fishing lures. Now after we have removed the master worm and the plaster is fully set you need to cut a sprue channel so that you have somewhere to pour in the melted plastic. Finally we need to seal the mold. Plaster is porous and even if it's fully set you will have all kinds of little leaks inside the mold if you do not take the precaution to seal your mold. Any kind of epoxy or mod podge will work. Don't get carried away just a light coat will do. Now our mold is finished.
As you can see how to make plastic fishing lures isn't that difficult and there are creative ways we can get around the more expensive parts to making plastic fishing worms by making our own molds. There are a few other pointer to make mention and you should be able to pour out your plastic worms without any trouble, and that is before pouring the melted plastic into the mold, coat the insides lightly with some vegetable oil or Vaseline just so its easier to remove the finished product.
For information about tackle making you can find a lot of resources over at homemade fishing lures. There you can find a lot of useful information and instruction on how you can make your own plastic fishing lures.
Article Source: http://EzineArticles.com/?expert=Tony_Bolton
see my previous post :
Some Great Tips To Help You Catch More Fish While River Fishing
Labels:
Fishing Lures
Friday, September 24, 2010
Some Great Tips To Help You Catch More Fish While River Fishing
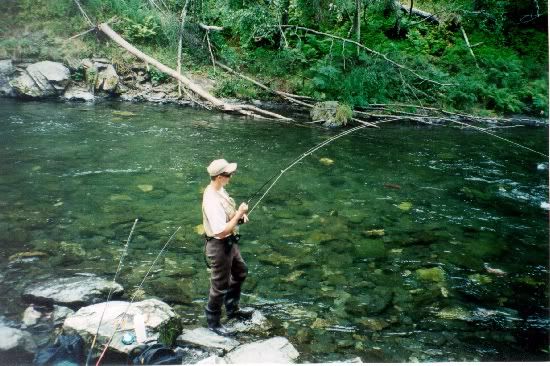
In my opinion, the most important thing to remember while river fishing is not to spook the water that you're about to fish. I've seen entirely too many anglers do this very thing. For example, they'll wade 1/4 of the way out into the river and begin fishing. Thus leaving themselves standing in the very water they probably should have fished first.
The first tip is: When river fishing, remember to work the area that you want to fish in "sections". Don't just jump in and start fishing in the spot that you think looks the best. And don't just fish the water directly below where you're wading. Make your casts into the current then let your live bait or lure flow with the current until it is finally below you, keeping your line as tight as possible the entire time. Repeat this step while varying the length of your casts in order to cover the water entirely.
The second tip is: When river fishing, while using live bait, the bottom is your friend. As my mentor used to say, "if you're not getting snagged, you're not fishing in the right place!" The goal is to bounce you're live bait off of the bottom as it drifts naturally through the current (JRW Gang Hooks are the most natural way to present a worm in my opinion). This is accomplished by adjusting the number of split shot sinkers you add to your line. Start with two and make a cast. If you don't feel bottom throughout your drift, add another on the next cast and so on. Once you're bouncing bottom, you'll be able to feel it. And with practice, you'll be able to tell the difference between the bottom and a bite with ease.
The third tip is: Look for deeper water. For the most part you'll want to spend 80% of your time on any given river fishing trip, fishing the deeper parts of the river. Deeper edges and riffles and of course pools are where a majority of the fish will congregate(especially in hotter weather. You don't want to get caught spending 80% of your time fishing the shallow riffles and 20% of your time fishing the beautiful pool below the riffles. And the deeper edges along most riffles (especially in the bend of the river) are generally more productive as well. Just remember: for the most part, deeper is better.
The fourth tip is: Match your fishing gear to the type of fish that your fishing for. I've seen all too many anglers out on my local stream fishing for rainbow trout with gear that would enable them to hook and land a small mako shark! My personal preference is a five foot ultra light rod and reel spooled with 4 lb. test. If this would be too "small" for you, a 6 foot light action rod spooled with 6lb. test would suffice, but any larger is complete overkill. If you're going river fishing for fall steelhead, obviously your going to need larger fishing gear. Just make sure to match it to what you're fishing for. I don't need to see any more shark fishermen on my local trout stream.
These tips should save you time, and with any luck, help you catch more fish as well. So get out there and do just that. And remember what a very wise person once said, "a bad day fishing is better than a good day at work." Amen!
Trevor Kugler Co-founder of JRWfishing.com Trevor has more than 20 years of fishing experience, 15 years of business experience and currently raises his 3-year old daughter in the heart of trout fishing country......Montana.
Here's some great rod and reel choices - http://www.jrwfishing.com/fishing_rods_reels.html
Become A Better Angler & Get $10 for your trouble - http://www.jrwfishing.com/signup.html
Article Source: http://EzineArticles.com/?expert=Trevor_Kugler
see my previous post :
River Fishing Tips - Some Do's & Don'ts
Labels:
River Fishing Tips
River Fishing Tips - Some Do's & Don'ts
By: Aaina
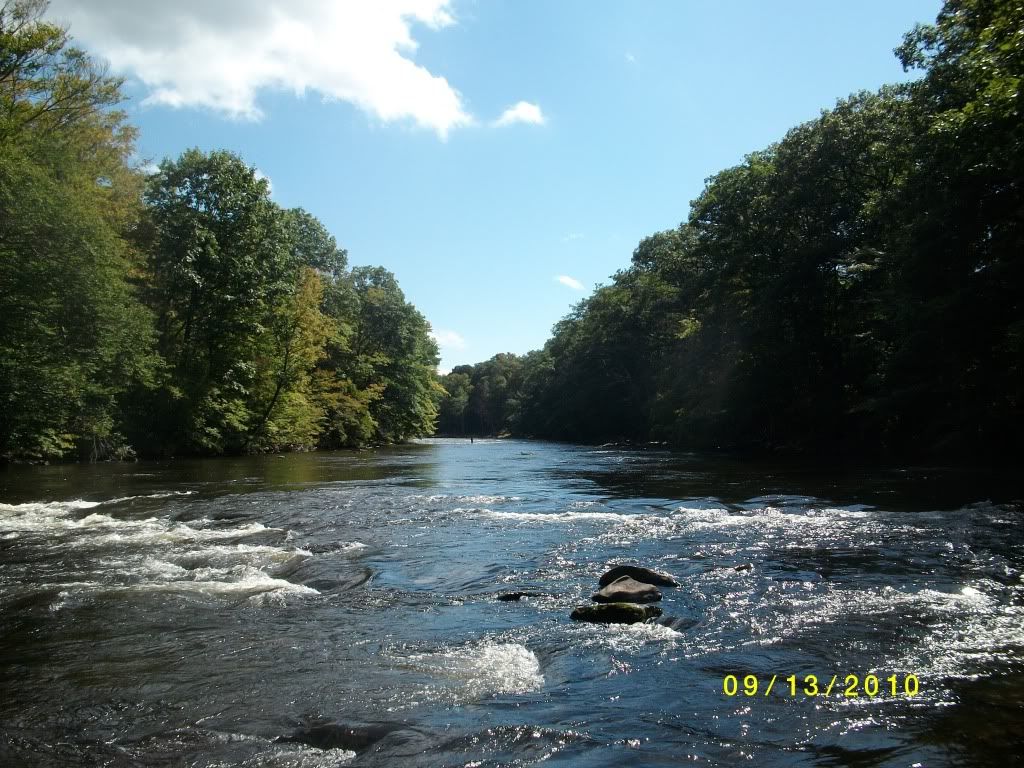
Planning to go out for river fishing, you need to have a perfect plan for that and you should be well armed with all the armors that you need. You should gather some river fishing tips must be gathered and studied beforehand, as the best anglers are not those who simply jump into the best spot, but those who have a systematic and well informed plan of action that they follow while going river fishing. The river fishing tips mentioned here are applicable for small streams and rivers, and the most important thing that an individual needs, while carrying out this task, is patience. Getting impatient and frustrated will get you nowhere.
As we all know, different rivers require different strategies depending on their size and the variety of fish that are present there. It's a mistake that most of the beginners do to ignore the importance of strategizing. Most of them are under the illusion that that if they simply sit on the river bank or wade through it with a fishing rod, they will catch all they want. It's not impossible for people to be lucky enough to have success with this trial and error method. But the best anglers are those who lay a detailed plan and strategy into place and then follow it. This is where the many river fishing tips and tricks will certainly come handy.
Tips # 1
You need to learn how to tread lightly if the river you are in requires you to wade through it. You all must be knowing already that sounds can travel a great distance under the water surface. And the slightest sound you make may inadvertently end up scaring the fish. So it is required that you thoroughly scan the area you are going to cover beforehand and then ensure that you do not step on many sticks and rocks on the river bed. Take one step at a time and take it as slowly and steadily as possible. These things are fundamental and you certainly need to know this.
Tips # 2
It is all the more important to decide upon the time you want to go out for fishing. Deciding the time is so important that you will see it as a fundamental river fishing tip almost everywhere. Remember, fish move around a lot and there are specific conditions of weather as well as the moon's position determine their movement. So make sure you are in the best places at the best times. This knowledge can easily be achieved by studying the habitat and the nature of the fish that are present in that river. It'll be more than a foolish act to stand in the water for hours on end when the fish are more likely to be elsewhere.
Tips # 3
The next natural thing that you also need to be aware of is the various sections in the river. The current plays an integral part in the migration of the fish and the more you know about this, the higher will be your chances of catching more game. Basically rivers are divided into little pockets or sections depending on the flow of the current. And these pockets or sections can be used to the advantage of anglers. You need get a thorough knowledge about these currents and you will get a good idea about which is the best spot for you.
Tips # 4
This is the best option to carry live bait for river fishing. And accordingly, the presentation of the live bait is very important in determining the reactions of the fish. Needless to mention that the more realistic you make it look, the better your chances. Gang hooks are the best choice of hooks for achieving this purpose, because these hooks add a very natural and realistic look to your bait. Make sure that you bounce your bait off the floor of the river at regular intervals to make a better impression.
Tips # 5
After following the entire above mentioned river fishing tips, you need to search for deeper parts of the river to fish. You will find the biggest congregations of fish in the deeper areas. And it works best when the climate is warm. This is a very important tip and if you do not know this you may end up wasting a majority of your time wading through shallow areas while this could ultimately turn out to be useless. There are a plenty of edges and riffles under the surface of the river where you will find the most fish.
About the Author
The author writes on Marine, Fishing, Boating and related topics for many reputed publishers such as, Marinews.Com.
see my previous post :
Cautions When Deep Sea Fishing
Planning to go out for river fishing, you need to have a perfect plan for that and you should be well armed with all the armors that you need. You should gather some river fishing tips must be gathered and studied beforehand, as the best anglers are not those who simply jump into the best spot, but those who have a systematic and well informed plan of action that they follow while going river fishing. The river fishing tips mentioned here are applicable for small streams and rivers, and the most important thing that an individual needs, while carrying out this task, is patience. Getting impatient and frustrated will get you nowhere.
As we all know, different rivers require different strategies depending on their size and the variety of fish that are present there. It's a mistake that most of the beginners do to ignore the importance of strategizing. Most of them are under the illusion that that if they simply sit on the river bank or wade through it with a fishing rod, they will catch all they want. It's not impossible for people to be lucky enough to have success with this trial and error method. But the best anglers are those who lay a detailed plan and strategy into place and then follow it. This is where the many river fishing tips and tricks will certainly come handy.
Tips # 1
You need to learn how to tread lightly if the river you are in requires you to wade through it. You all must be knowing already that sounds can travel a great distance under the water surface. And the slightest sound you make may inadvertently end up scaring the fish. So it is required that you thoroughly scan the area you are going to cover beforehand and then ensure that you do not step on many sticks and rocks on the river bed. Take one step at a time and take it as slowly and steadily as possible. These things are fundamental and you certainly need to know this.
Tips # 2
It is all the more important to decide upon the time you want to go out for fishing. Deciding the time is so important that you will see it as a fundamental river fishing tip almost everywhere. Remember, fish move around a lot and there are specific conditions of weather as well as the moon's position determine their movement. So make sure you are in the best places at the best times. This knowledge can easily be achieved by studying the habitat and the nature of the fish that are present in that river. It'll be more than a foolish act to stand in the water for hours on end when the fish are more likely to be elsewhere.
Tips # 3
The next natural thing that you also need to be aware of is the various sections in the river. The current plays an integral part in the migration of the fish and the more you know about this, the higher will be your chances of catching more game. Basically rivers are divided into little pockets or sections depending on the flow of the current. And these pockets or sections can be used to the advantage of anglers. You need get a thorough knowledge about these currents and you will get a good idea about which is the best spot for you.
Tips # 4
This is the best option to carry live bait for river fishing. And accordingly, the presentation of the live bait is very important in determining the reactions of the fish. Needless to mention that the more realistic you make it look, the better your chances. Gang hooks are the best choice of hooks for achieving this purpose, because these hooks add a very natural and realistic look to your bait. Make sure that you bounce your bait off the floor of the river at regular intervals to make a better impression.
Tips # 5
After following the entire above mentioned river fishing tips, you need to search for deeper parts of the river to fish. You will find the biggest congregations of fish in the deeper areas. And it works best when the climate is warm. This is a very important tip and if you do not know this you may end up wasting a majority of your time wading through shallow areas while this could ultimately turn out to be useless. There are a plenty of edges and riffles under the surface of the river where you will find the most fish.
About the Author
The author writes on Marine, Fishing, Boating and related topics for many reputed publishers such as, Marinews.Com.
(ArticlesBase SC #3031927)
Article Source: http://www.articlesbase.com/ - River Fishing Tips - Some Do's & Don'tssee my previous post :
Cautions When Deep Sea Fishing
Labels:
River Fishing Tips
Subscribe to:
Posts (Atom)